Realms and their associated maps serve as the setting for all Dead By Daylight Trials and are based on memories The Entity pulls from each Killer. Many Dead By Daylight Killers, including the licensed characters, come with their own Realms from their movie, show, or backstory. Though some maps have random spawns, like the escape Hatch or the Killer Shack, most keep the same layout during every Trial, making it easier for seasoned Survivors and Killers to navigate each one and find Generators, difficult loops, and the exit gates.
Some of the maps in Dead By Daylight are balanced, offering a fair challenge for both Killers and Survivors. However, there are some maps that skew more heavily in favor of one or the other. Unless players create a custom lobby, they are not able to choose the map that suits them. These generate at random. Both Killers and Survivors can influence the Realm in which the Trial takes place, however, by purchasing and burning certain Offerings from their Bloodweb. Here are the best Realms and maps for Killers and Survivors in Dead By Daylight and how to burn Offerings to improve the chances of being sent to one.
The best Realms and maps in Dead By Daylight tend to depend on whether players have chosen Killer or Survivor and their preferred playstyle. The best maps for Killers usually include plenty of open space that prevents Survivors from looping and hiding, have few Pallets and junk to trip up a Killer, or contain dead ends that can trap Survivors for a quick hit. Indoor maps are generally easier for Killers than Survivors. Some of the best Realms and maps for Killers include:
- Léry’s Memorial Institute - All Maps: There are many available Hooks, the Generators are sparsely spread out, and there are several dead ends to trap Survivors
- Midwich Elementary School: The two buildings have Generators sparsely spread out, and some rooms are dead ends that are perfect for trapping Survivors
- Gideon Meat Plant - The Game: The upper floor is wide open with few Pallets and most of the Generators, making it easy for Killers to find and strike Survivors
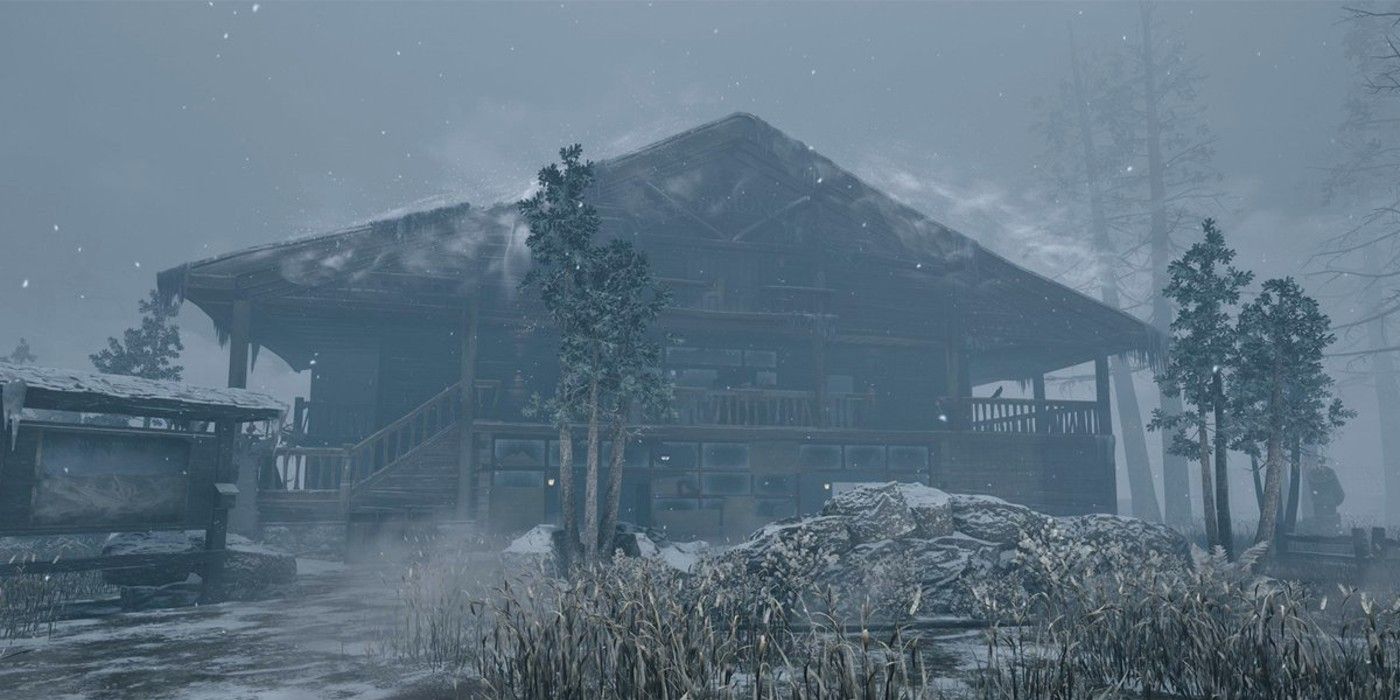
- Mount Ormond Resort: The snow and daylight help Killers see Survivors even when they wear darker colors, and blood tracks and scratch marks from injured and running Survivors are easier to see
The best maps for Survivors in Dead By Daylight are usually the traditional forest locations, with tall grass in which to hide, multiple Generators that are easy to access, and T and L walls with Pallets and Windows for better looping. Some of the best Realms and maps for Survivors include:
Best Maps for Survivors
- Mount Ormond Resort: This location contains multiple Generators, good places to hide including T and L walls, and a white aesthetic that makes the contrast of a killer in dark clothing and their red stain easier to spot.
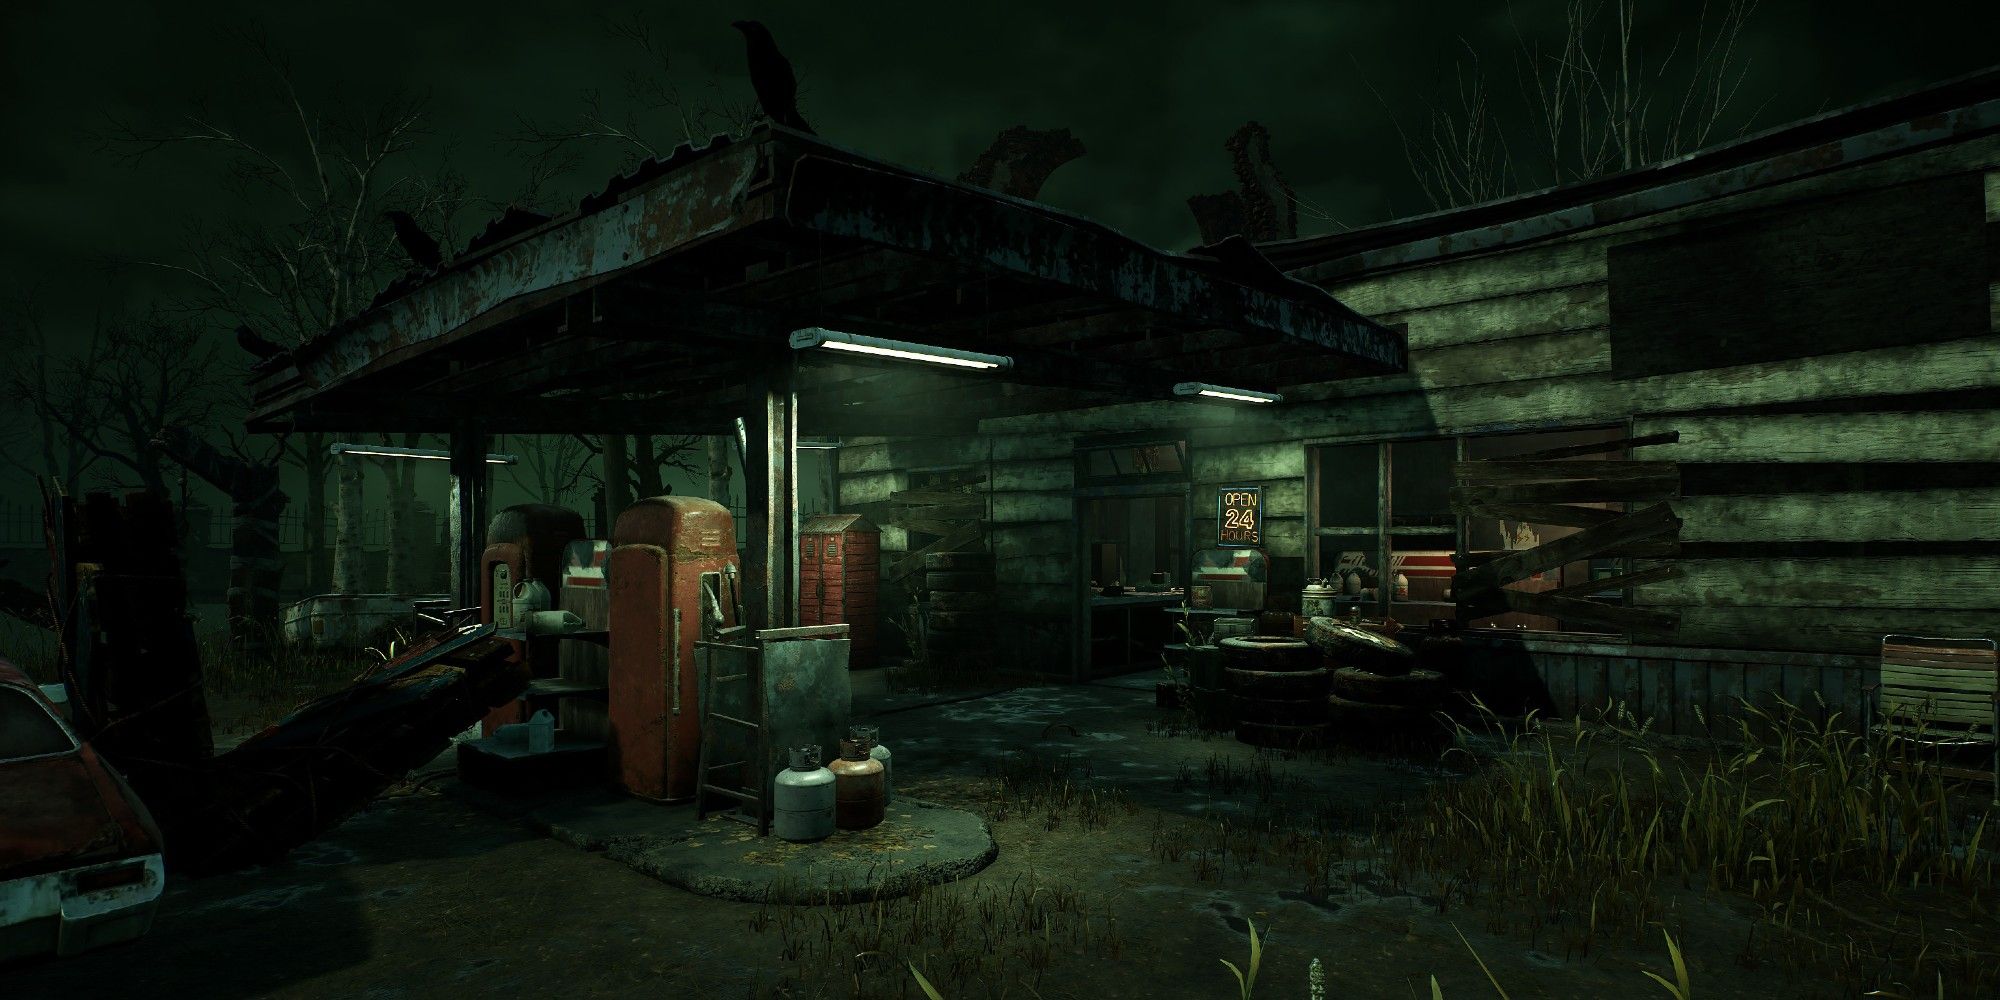
- Autohaven Wreckers - All Maps: Every map in this Realm contains piles of junk for Survivors to loop Killers in. Many are also quite large, meaning it is possible for Survivors to lose the Killer and complete Generators faster.
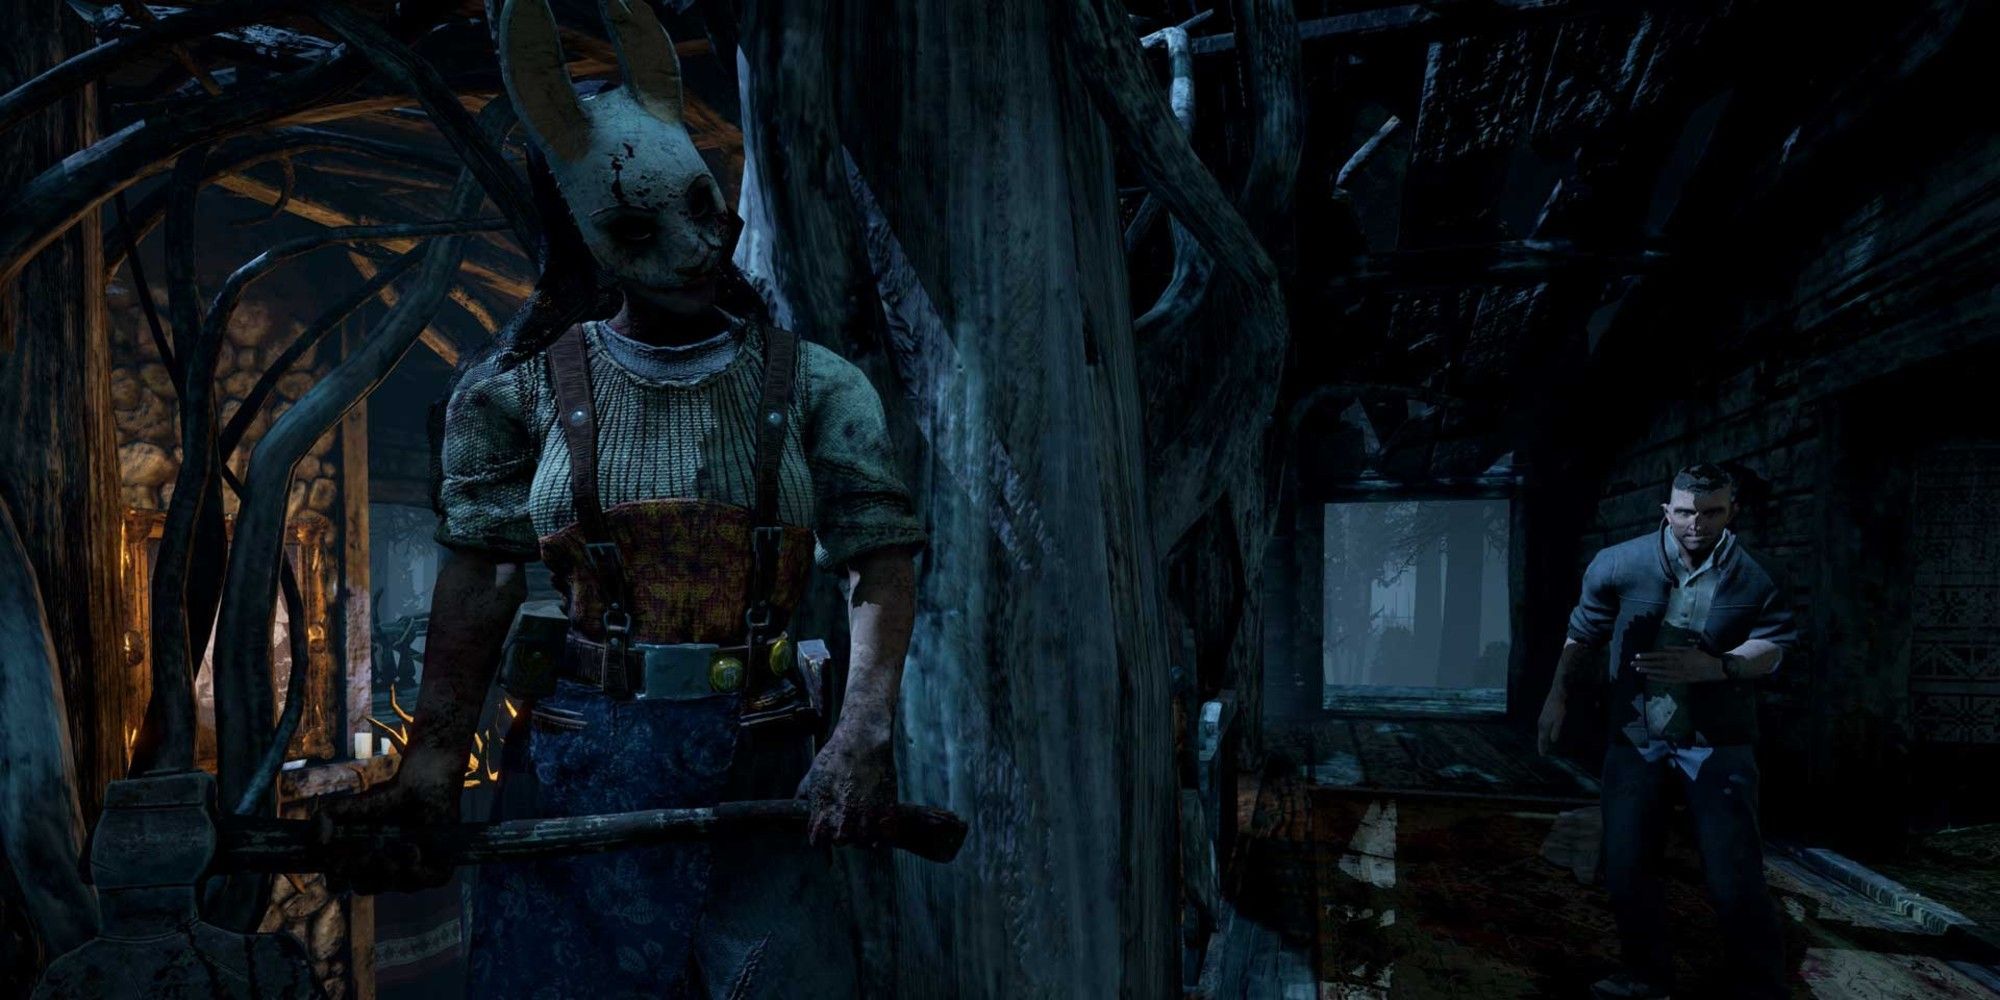
- Red Forest - Mother's Dwelling: While most of the Red Forest is conducive to Survivor gameplay, Mother's Dwelling is large and contains many walls and structures to help Survivors lose a Killer.
- MacMillan Estate - Ironworks of Misery: Many of the MacMillan Estate maps are fairly balanced, but the Ironworks of Misery is large with multiple Windows and a huge central structure to loop and distract the Killer.
- Lampkin Lane, Haddonfield: While not the most popular map, Haddonfield contains numerous houses with Windows and balconies for quick exits. Killers will need to waste time searching each building to find Survivors, giving them an opportunity to complete Generators and make a quick escape. Hooks are also spaced farther apart on this map, making it easier for Survivors to wiggle free before they can be Hooked.
Because players cannot select the map on which they play in ranked public matches, it is a good idea for both Killers and Survivors to learn key landmarks that will help them navigate multiple maps well.
Players can select any map in Dead By Daylight, including those that came with DLC characters, by creating a Custom lobby to play. Up to five friends can join a game, with four Survivors and a single killer. All Survivor and Killer perks, items, add-ons, and offerings are available for use, allowing groups to enjoy Dead By Daylight any way they want to.
In public lobbies, where there is no way for players to directly select the map they want to use for the Trial, they can greatly improve the chances they will spawn in any particular Realm by burning an Offering. Offerings that increase the chance of spawning on a particular map for the Trial will appear at random in a Survivor's or Killer's Bloodwebs. For each realm, there are three kinds of Offering: those that Slightly, Considerably, or Tremendously increase the chance of being sent to a particular realm. Offerings are consumed when burned and can't be used again, so players will want to keep them and use them strategically.
The Offerings needed to begin a Trial in any particular Realm appear below:
- Autohaven Wreckers: Shredded Plate (Slightly), Virginia Plate (Considerably), Azarov's Key (Tremendously)
- Backwater Swamp: Fuming Cordage (Slightly), Fuming Welcome Sign (Considerably), Grandma's Cookbook (Tremendously)
- Coldwind Farm: Cattle Tag 28 (Slightly), Cattle Tag 81 (Considerably), Heart Locket (Tremendously)
- Crotus Prenn Asylum: Lunacy Ticket (Slightly), P. Elliot Lunacy Ticket (Considerably), Charred Wedding Photograph (Tremendously)
- Gideon Meat Plant: Jigsaw Piece (Tremendously)
- Grave of Glenvale: Dusty Noose (Tremendously)
- Haddonfield: Harvest Festival Leaflet (Slightly), Decrepit Clapboard (Considerably), Strode Realty Key (Tremendously)
- Hawkins National Laboratory: Hawkins National Laboratory ID (Tremendously)
- Léry’s Memorial Institute: Emergency Certificate (Slightly), Psychiatric Assessment Report (Considerably), Shattered Glasses (Tremendously)
- The MacMillan Estate: MacMillan Ledger Page (Slightly), Signed Ledger Page (Considerably), MacMillan's Phalanx Bone (Tremendously)
- Ormond: Damaged Photo (Tremendously)
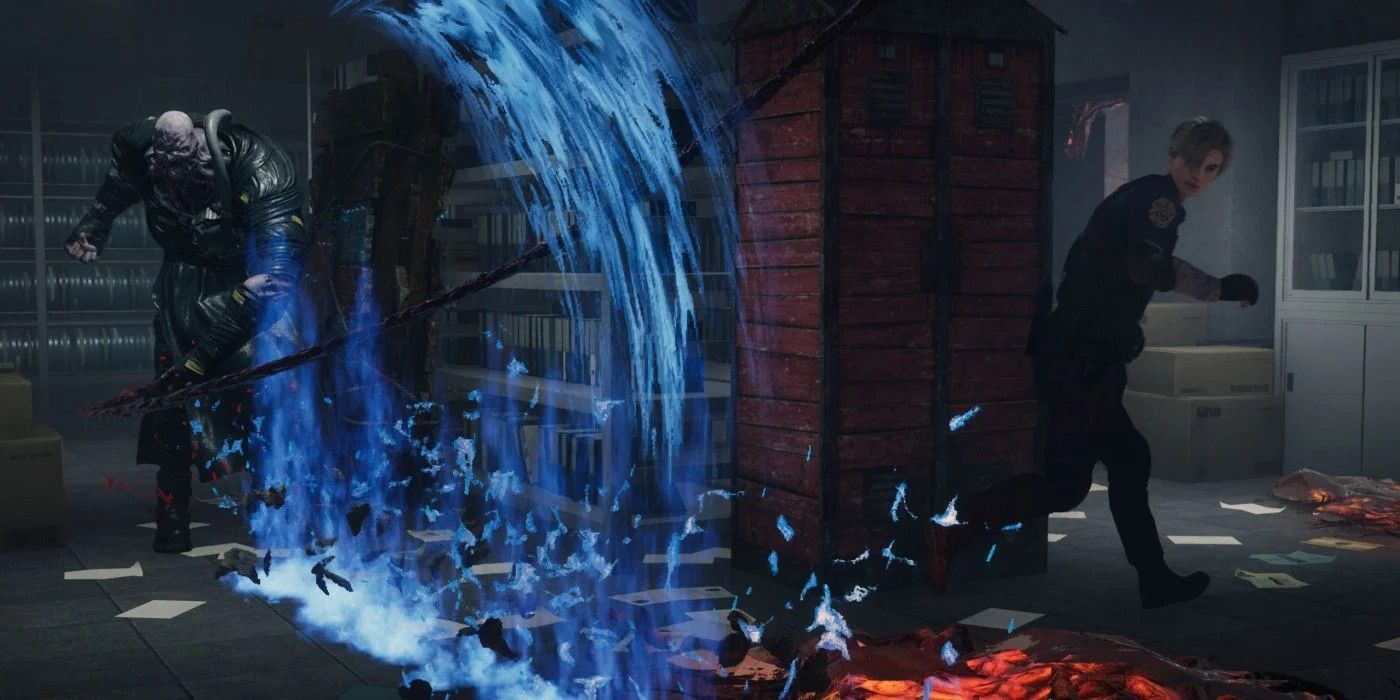
- Racoon City: RPD Badge (Tremendously)
- Red Forest: Painted River Rock (Slightly), Children's Book (Considerably), The Last Mask (Tremendously)
- Silent Hill: Mary's Letter (Tremendously)
- Springwood: The Pied Piper (Tremendously)
- Yamaoka Estate: Yamaoka Family Crest (Tremendously)
If the Realm has more than one map, burning the Offering only improves the chances of spawning on a map within that Realm, while the exact map will be random. When choosing Realms like Haddonfield, with only one map, the Offering allows players to have far more control over the exact location of the Trial.
Dead By Daylight is available for PC, Xbox One, Xbox Series X/S, PlayStation 4, PlayStation 5, Nintendo Switch, and mobile devices.
No comments:
Post a Comment